Back Control


Back Control on the Digitsu Graph
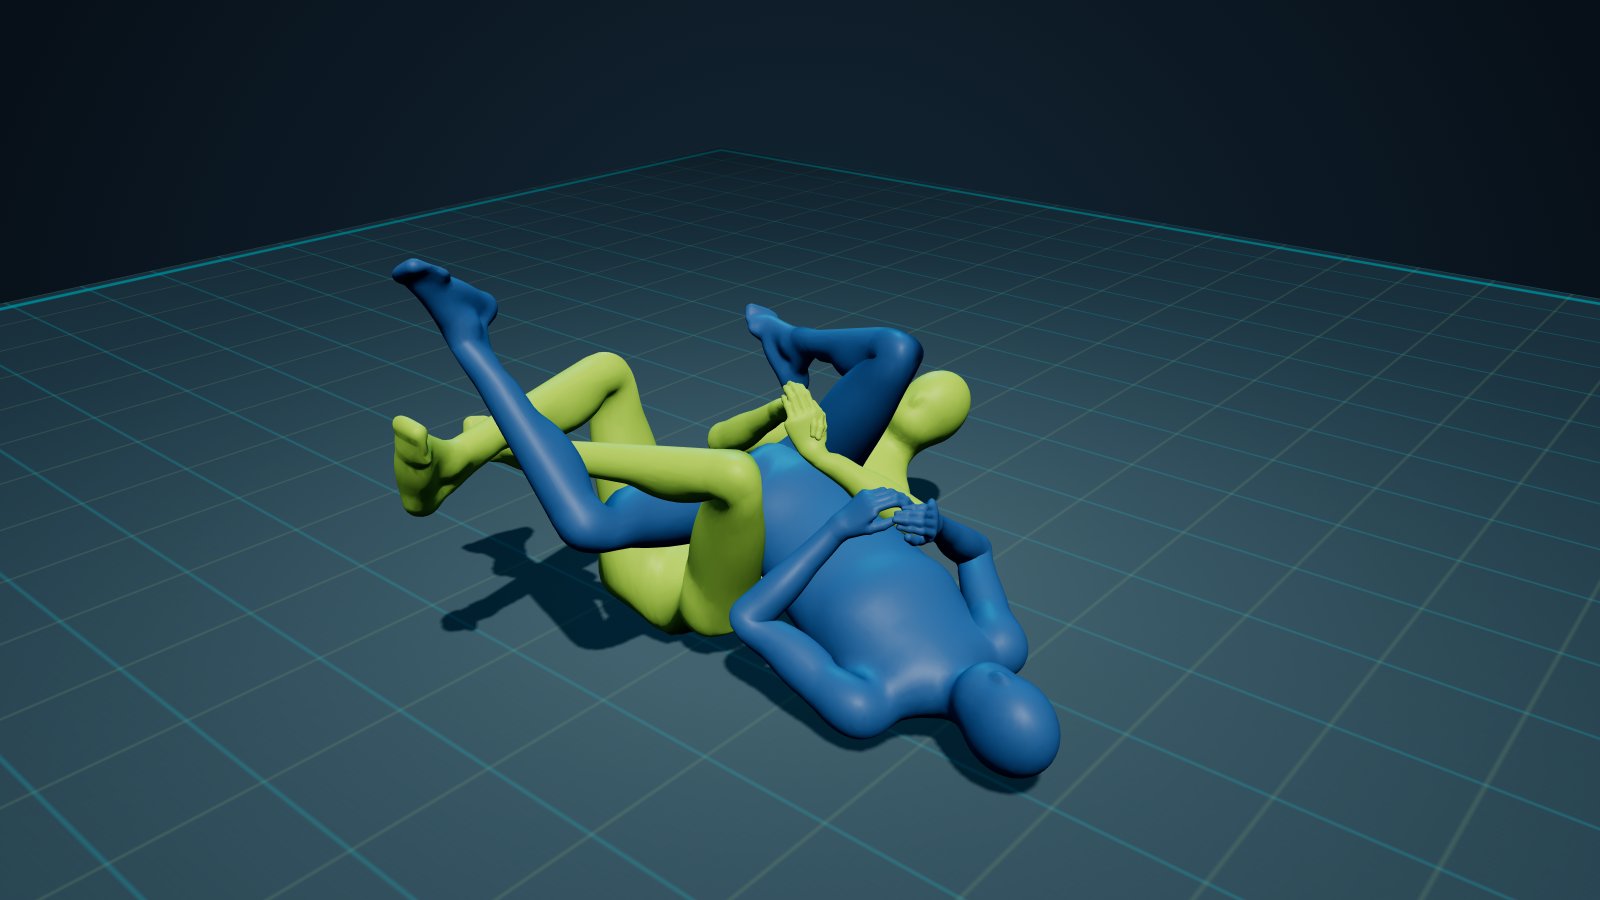
Supine lower back control
Variations
Moves from here
Ways in
Moves from here
Ways in
Moves from here
Ways in
Moves from here
Ways in
Moves from here
Ways in
Back control is the summit of positional jiu-jitsu: you are behind the opponent, chest glued to their back, legs hooked inside their thighs, arms wrapped in a seatbelt around their torso. They cannot see you, cannot strike you, and can barely touch you, while their neck is one hand fight away from the sport's highest-percentage finish. Every positional hierarchy in grappling puts the back at the top, and the scoreboards agree.
What is back control?
The hand fight
Why it matters
Gi and no-gi
Where to start
Quick Reference
Key principles
- · Chest-to-back connection is the foundation; eliminating space between your torso and the opponent's back prevents escapes.
- · Hooks (heels inside the thighs) control the opponent's hips and prevent them from turning or sliding down.
- · Head positioning on the choking side keeps your face protected and sets up collar or rear naked choke attacks.
- · Anticipate the opponent peeling your hooks by constantly re-pumping hooks and using your heels to dig inside their thighs.
- · Control the opponent's hands and arms to prevent them from building defensive frames or stripping your grips.
Execution
- 1 Establish chest-to-back contact and secure a seatbelt grip (one arm over the shoulder, one arm under the armpit, hands clasped).
- 2 Insert both hooks by placing your feet inside the opponent's inner thighs with your heels pressing inward.
- 3 Angle your body slightly to the choking side (the side of the over-the-shoulder arm) to off-balance the opponent.
- 4 Use your top hook and seatbelt to prevent the opponent from turning into you, constantly adjusting to maintain back exposure.
- 5 Begin attacking submissions such as the rear naked choke or transition to collar chokes while maintaining hook and upper body control.
Common mistakes
- × Crossing your ankles between the opponent's legs, which exposes you to a straight ankle lock counter.
- × Relying solely on arm grips without maintaining tight chest-to-back pressure, allowing the opponent to create space and escape to the side.
- × Staying flat (square) behind the opponent instead of angling to one side, making choke entries difficult and giving the opponent easier escape paths.
From the bottom
What the bottom grappler is working toward from Back Control.
On top
The top grappler's options against Back Control.
13 less common
How you get here
Techniques that land in Back Control.
Chains & Sequences
Commonly taught paths through the graph that feature this technique.
Side Control Triple Attack
Shin-to-Shin Back Take
Knee Cut Smash Truck Back Take
Knee Shield Arm Drag to RNC
Turtle Cradle to Back Take
DLR Crab Ride to Back
Toreando to Truck Back Take
Backstep Berimbolo Back Take
SLX Waiter Sweep to Back
DLR Berimbolo Back Take