Arm Drag


Arm Drag on the Digitsu Graph
Transition
Also known as:
Same Side Drag
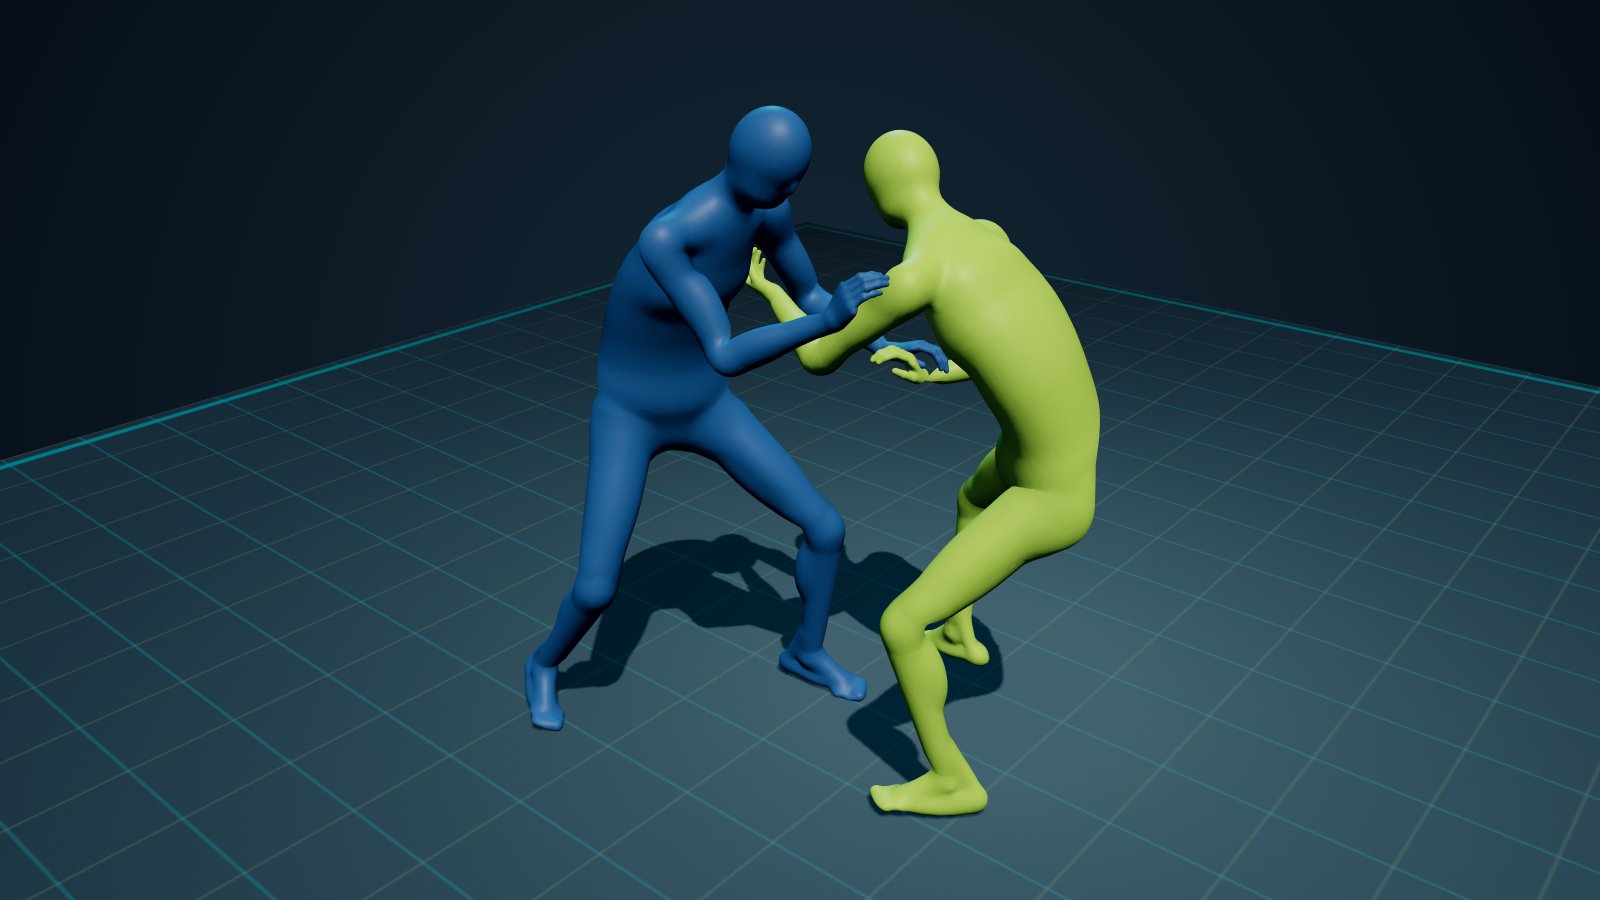
The arm drag is a redirection technique where you grip the opponent's wrist and tricep to pull their arm across your body, exposing their back or creating off-balancing opportunities. It works from guard, clinch, and passing situations as a high-percentage entry to back control, submissions, or scrambles.
Quick Reference
Key principles
- · Pull the opponent's arm across your centerline while simultaneously moving your body to the opposite side—it's your movement, not just pulling.
- · The two-on-one grip (wrist and tricep) must work as a unit to redirect their arm past your hip.
- · Timing the drag when the opponent posts, pushes, or reaches forward uses their committed weight against them.
- · Anticipate the opponent pulling their arm back by using that retraction energy to transition to a different attack like a triangle or armbar.
- · Keep your elbows tight to your body during the drag to maximize leverage and prevent counter-grips.
Execution
- 1 Secure a two-on-one grip: same-side hand on their wrist, cross-hand gripping their tricep just above the elbow.
- 2 Pull their arm sharply across your body while hip-escaping or shifting your hips to the opposite side of the drag.
- 3 As their shoulder turns and their back becomes exposed, release the wrist grip and reach over their back to secure a seatbelt or waist grip.
- 4 Continue circling to their back, establishing hooks or transitioning to your target position (back control, crucifix, or turtle top).
- 5 If they resist the drag by squaring back up, immediately chain to an armbar or triangle on the exposed arm.
Common mistakes
- × Dragging the arm without moving your own hips laterally, leaving you still in front of the opponent with no angle and losing the positional advantage.
- × Gripping too high on the arm near the shoulder instead of the tricep/wrist, which gives insufficient leverage and allows them to easily circle their arm free.
- × Completing the drag but failing to immediately advance position, giving the opponent time to re-square their hips and recover their defensive posture.
Do it from
Positions and situations where the Arm Drag shows up.
Closed Guard Bottom
3 less common
Chains into
Where to go next when the Arm Drag lands, or gets defended.
Where it lands
The position you end up in.
Chains & Sequences
Commonly taught paths through the graph that feature this technique.
Knee Shield Arm Drag to RNC