Bridge And Roll
Bridge And Roll on the Digitsu Graph
Escape
Also known as:
Bridge
Upa Escape
Trap and Roll
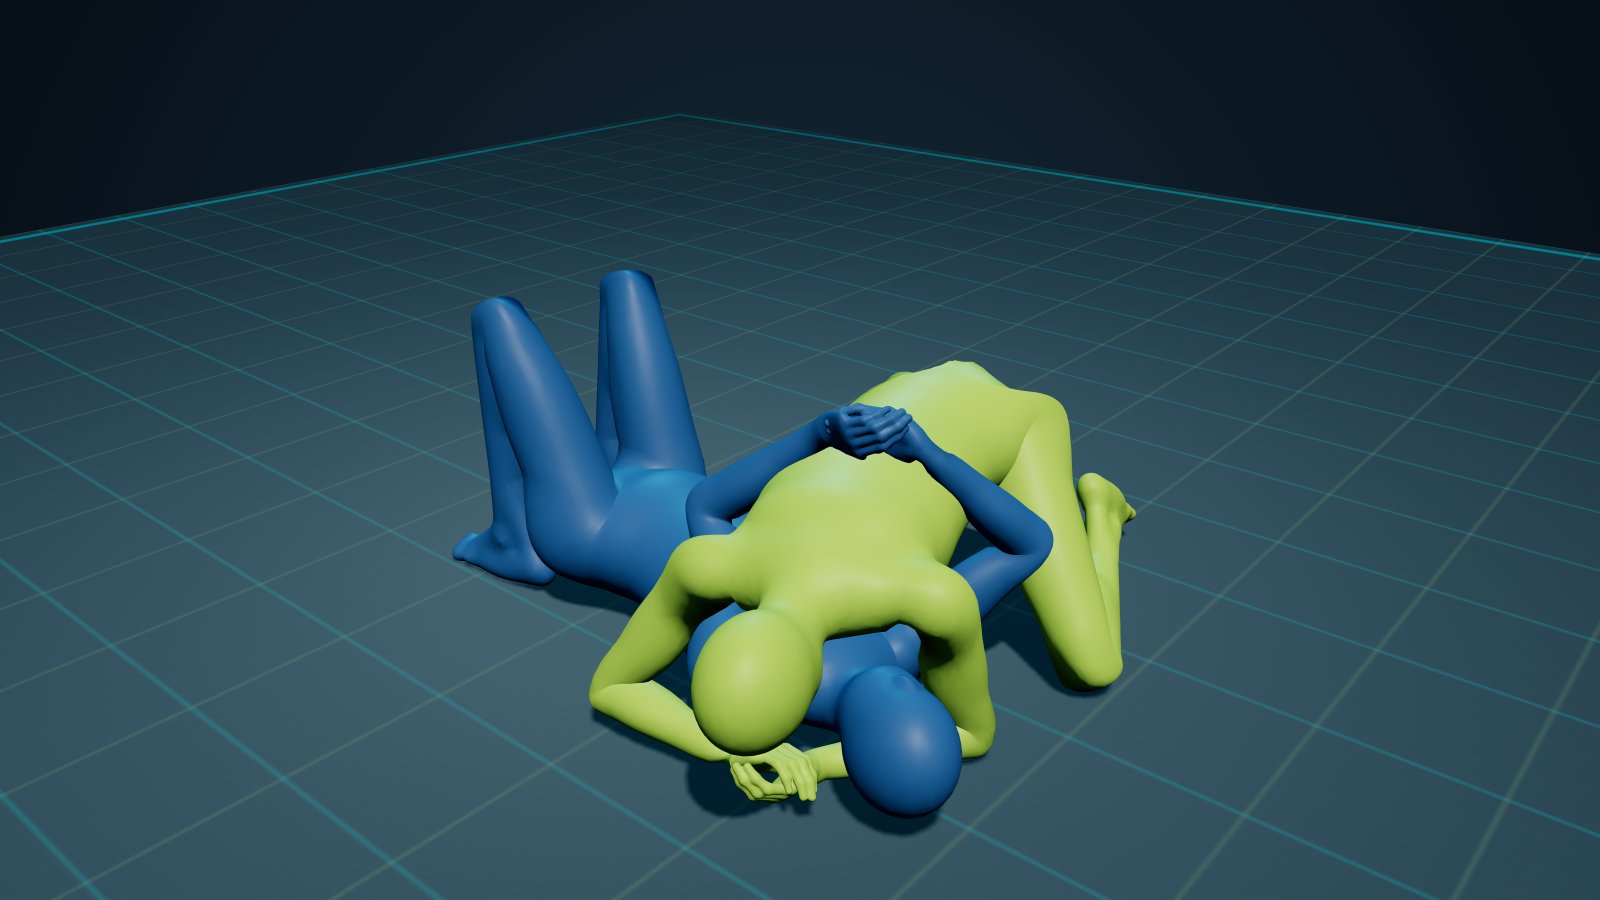
The Bridge and Roll is the fundamental escape from bottom mount and related pins, using a powerful hip bridge combined with trapping the opponent's arm and leg to reverse them. It is the first escape taught from mount and applies broadly across many top-pressure positions, exploiting moments when the opponent posts or commits weight forward.
Quick Reference
Key principles
- · Trap an arm and the same-side foot before bridging to eliminate the opponent's ability to post and base.
- · Bridge explosively at a 45-degree angle over the trapped shoulder, not straight up, to maximize leverage and off-balance the top player.
- · Timing the bridge when the opponent drives forward or reaches for a submission creates the strongest off-balancing moment.
- · Keep elbows tight to your body to prevent arm isolation and maintain frames before executing the escape.
- · If the opponent widens their base to resist, immediately transition to elbow-knee escape rather than forcing the roll.
Execution
- 1 From bottom mount, secure a deep grip on one of the opponent's wrists or arms, hugging it tightly to your chest while your same-side foot hooks their ankle on that side.
- 2 Plant both feet flat on the mat close to your hips, with your free hand reinforcing the arm trap or framing on their body.
- 3 Explosively bridge your hips upward and over the trapped shoulder at a 45-degree angle, turning your body as you drive.
- 4 Follow through the roll completely, landing in your opponent's closed guard or transitioning to a top position.
- 5 Immediately posture up and establish base to prevent being swept back or caught in a submission.
Common mistakes
- × Bridging straight up instead of at an angle, allowing the opponent to simply post with their free hand and remain on top.
- × Failing to trap the foot on the same side as the trapped arm, giving the opponent the ability to step out and base during the roll.
- × Waiting too long in a flat, passive position before attempting the escape, allowing the opponent to climb higher into S-mount or set up submissions.
Do it from
Positions and situations where the Bridge And Roll shows up.
10 less common
Chains into
Where to go next when the Bridge And Roll lands, or gets defended.
Where it lands
The position you end up in.
Use it against
The Bridge And Roll is an answer to these.
Mount Top
1 less common
Kesa Gatame Top